


Essentially, it’s all about the psychology of color and layout. The brain processes visual information in certain ways, so if you want to be memorable, you need to create something that exploits this process to your advantage. Fortunately, it’s not as difficult as you might think. Let’s start with some basic color psychology principles, and then we’ll move on to some practical custom tripanel folder design tips that anyone can use no matter their level of experience or skill set.
Step 1: Get to Know Your Client
The first step in creating a custom tripanel folder design is to get to know your client. This can seem like a daunting task, especially if they are not in the same room with you. But it’s worth the time and effort. You’ll want to find out what kind of business they run, who their target audience is, their company’s mission statement and values, and their goals for the next year. This will help you design a custom tripanel folder that resonates with them on an emotional level.
Step 2: Select Content
The content of your folder is important, as it should promote the goals you want your custom tripanel folder design to accomplish. You should include: who, what, when, where and why of your custom tripanel folder design so that people can understand what they are reading. In addition, you should include a call-to-action at the end of your introduction page and make sure that it is clear and concise. The more specific you are with your call-to-action, the better chance that someone will respond.
Step 3: Set Up a Project File
Open up Photoshop and create a new document by going to File, New. Enter the dimensions you want your folder to be. For this consider a size 4 x 6 inches.
Create a new layer, and then fill it with any color of your choosing. To do this go to Layer, New Fill Layer… Select Solid Color and select the color of your choice from the drop down menu. Once you have done that, hit OK and name the layer Front in the layers panel on the right hand side of Photoshop.
Next create a text box on the white background we just created by clicking T on your keyboard. Type in your company name or slogan into the text box and resize it so that it’s not too big or too small. Hit enter to accept when finished typing. Drag this text box over onto the front layer we created earlier.
Step 4: Building an Outline
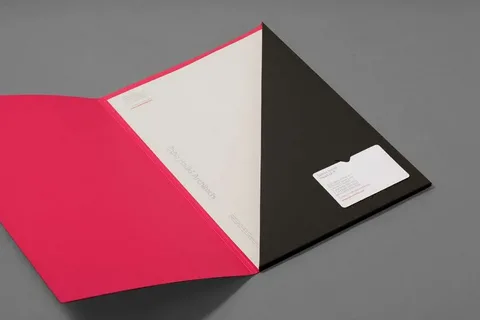
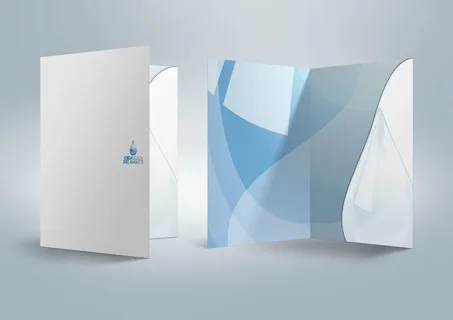
For custom tripanel folder design now build a clear outline of what you want the final design to look like. This includes deciding on the colour scheme, type of background, and primary font. The next step is deciding on the layout for your content which should be organized in such a way that it’s easy for the viewer’s eye to scan through. There are three main types of layouts: grid, staggered grid, and side by side. Grids have rows and columns with text or images in each cell while staggered grids have cells that are aligned vertically or horizontally without alignment between rows and columns. Side-by-side layouts use two columns with one column being wider than the other.
Step 5: Preparing Assets
Now that you have your design, it’s time to prepare the assets for printing. This includes any images you want on the folder, logos, patterns, text and more. There are a few different programs you can use depending on what type of asset you are preparing. If it is a simple logo or pattern then Adobe Illustrator is a great program. In order to make your custom tripanel folder stand out at first glance, take some time with the design process and create something that will catch the eye. Try not to be too basic or follow industry norms. With our previous tips in mind, you’ll be able to come up with a custom tripanel folder design that stands out and represents your company well.
Step 6: Adding Textures and Elements
The last step is to add some text and textures in custom tripanel folders. These are things that you might have in the photo. For example, if it was a cool day outside, you could add a cold texture to the background. If it was a cloudy day outside, you could add a cloudy text or element. You can do this by going into your photoshop file and importing the elements from any of the other photos that you took in order for the background to look as real as possible. Once you’ve added all these effects, it’s time to put everything together.
Step 7: Caring for Files After Production

There are a few things you need to do in order to maintain the quality of your folders. One of them is cleaning the folders with a solution that is alcohol-free, otherwise, it will dry out and deteriorate the paper. A second thing would be storing the folders flat when they’re not in use. This ensures that the folder maintains its shape and avoids tears or folds.
Conclusion
To create an engaging custom tripanel folder design, you need to think about the type of design you want, the colours you want and what type of material will best suit your needs. There are a lot of factors that go into creating the best custom tripanel folder design. Remember, it’s all about planning ahead so that your folders look professionally done. If you need help designing your custom tripanel folder, don’t hesitate to contact an expert for perfection!